

Cross Store Inventory Syncing
Sync inventory levels between inventory locations in multiple stores
Last updated July 16, 2026
Overview
Synkro provides a highly customizable syncing system between multiple Shopify stores. In this short guide, you will learn how to connect your Shopify stores and tell Synkro how to tie your inventory locations together to achieve a bi-directional or uni-directional sync between products and variants that share the same SKU or Barcode.
Step 1: Install Synkro in your first store
To begin the installation process, install Synkro in your first Shopify store. It does not matter which store you select as your first store, but often merchants will choose to install Synkro on their “primary” store first. Click here to navigate to the Synkro in the Shopify App Store.
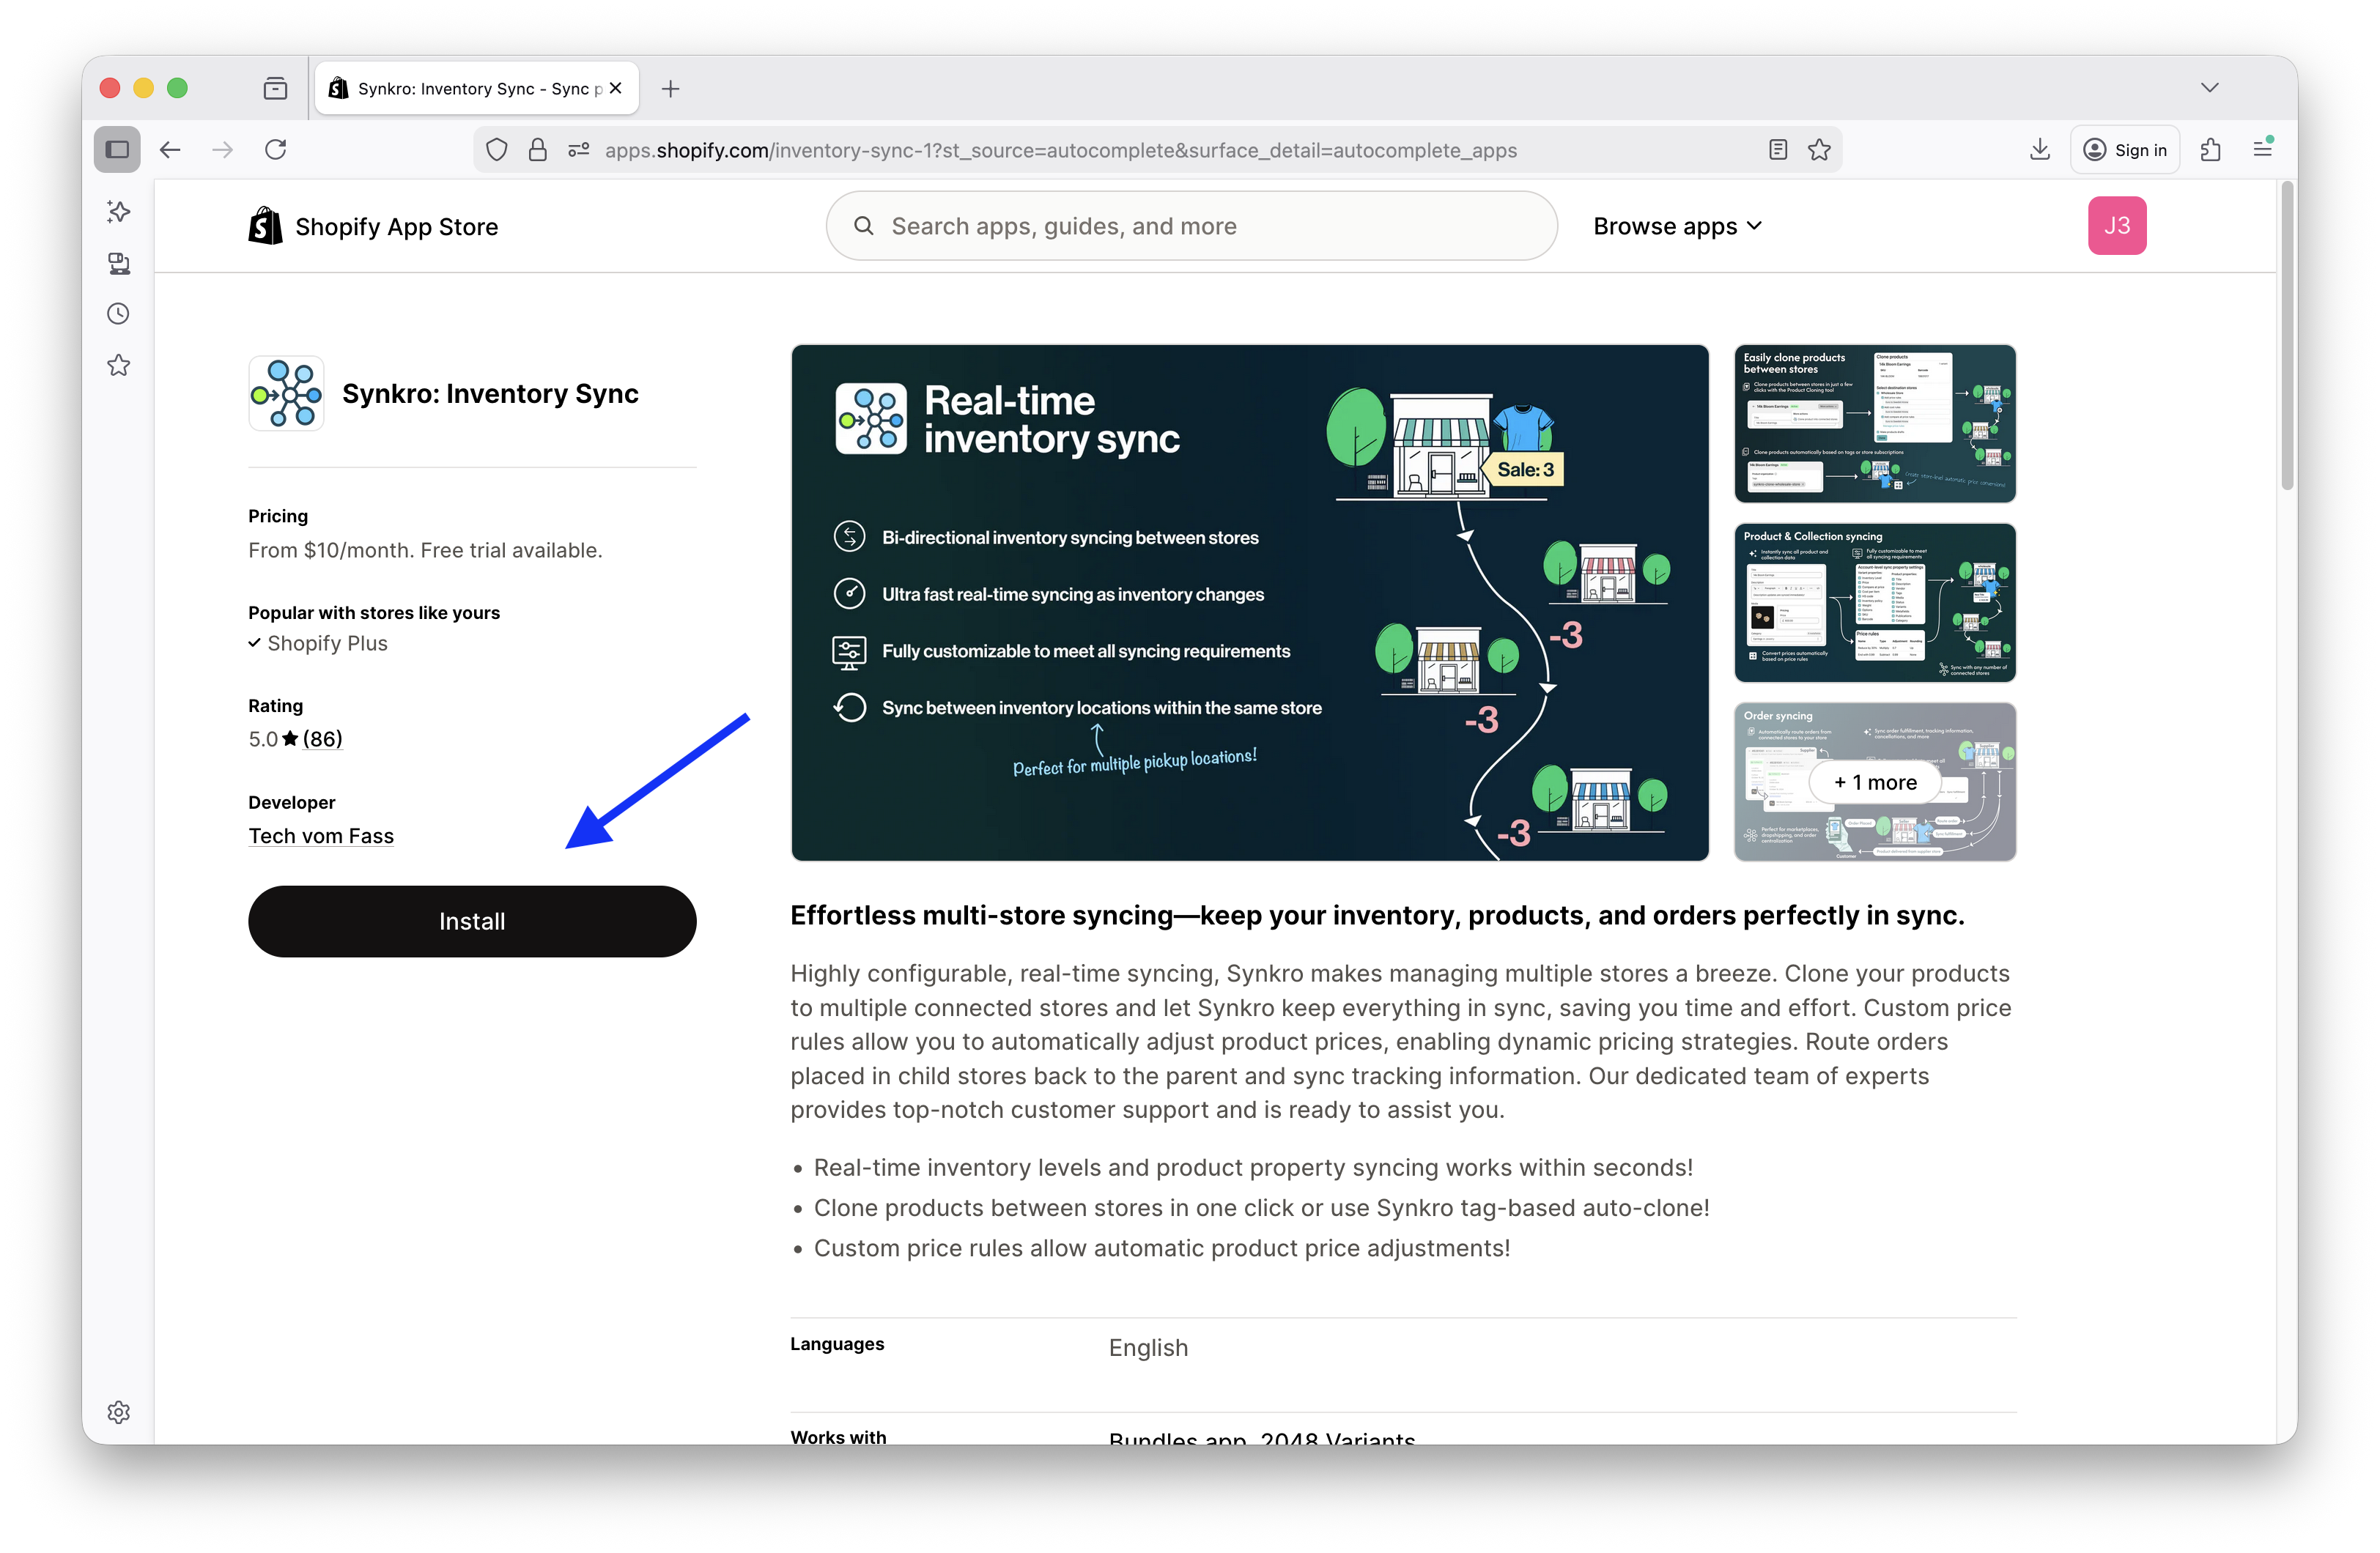 Find Synkro within the Shopify App Store and click
 Install
Step 2: Create a Synkro account
Now that the Synkro app is installed on your first store, your next step is to create a Synkro Account. This account is used to connect all of your Shopify stores together for syncing purposes.
At this point in the installation process, you will be presented with an option to continue with Synkro as a Multi-store merchant, or as a 3rd party store connecting to another Synkro Dropship source. If your intention is to sync inventory between products within a single store, you should still follow the instructions for Multi-store merchants by creating a Synkro account - even if you don’t intent on installing Synkro in more than one store.
-
Click the
Create accountbutton under theI have multiple storessection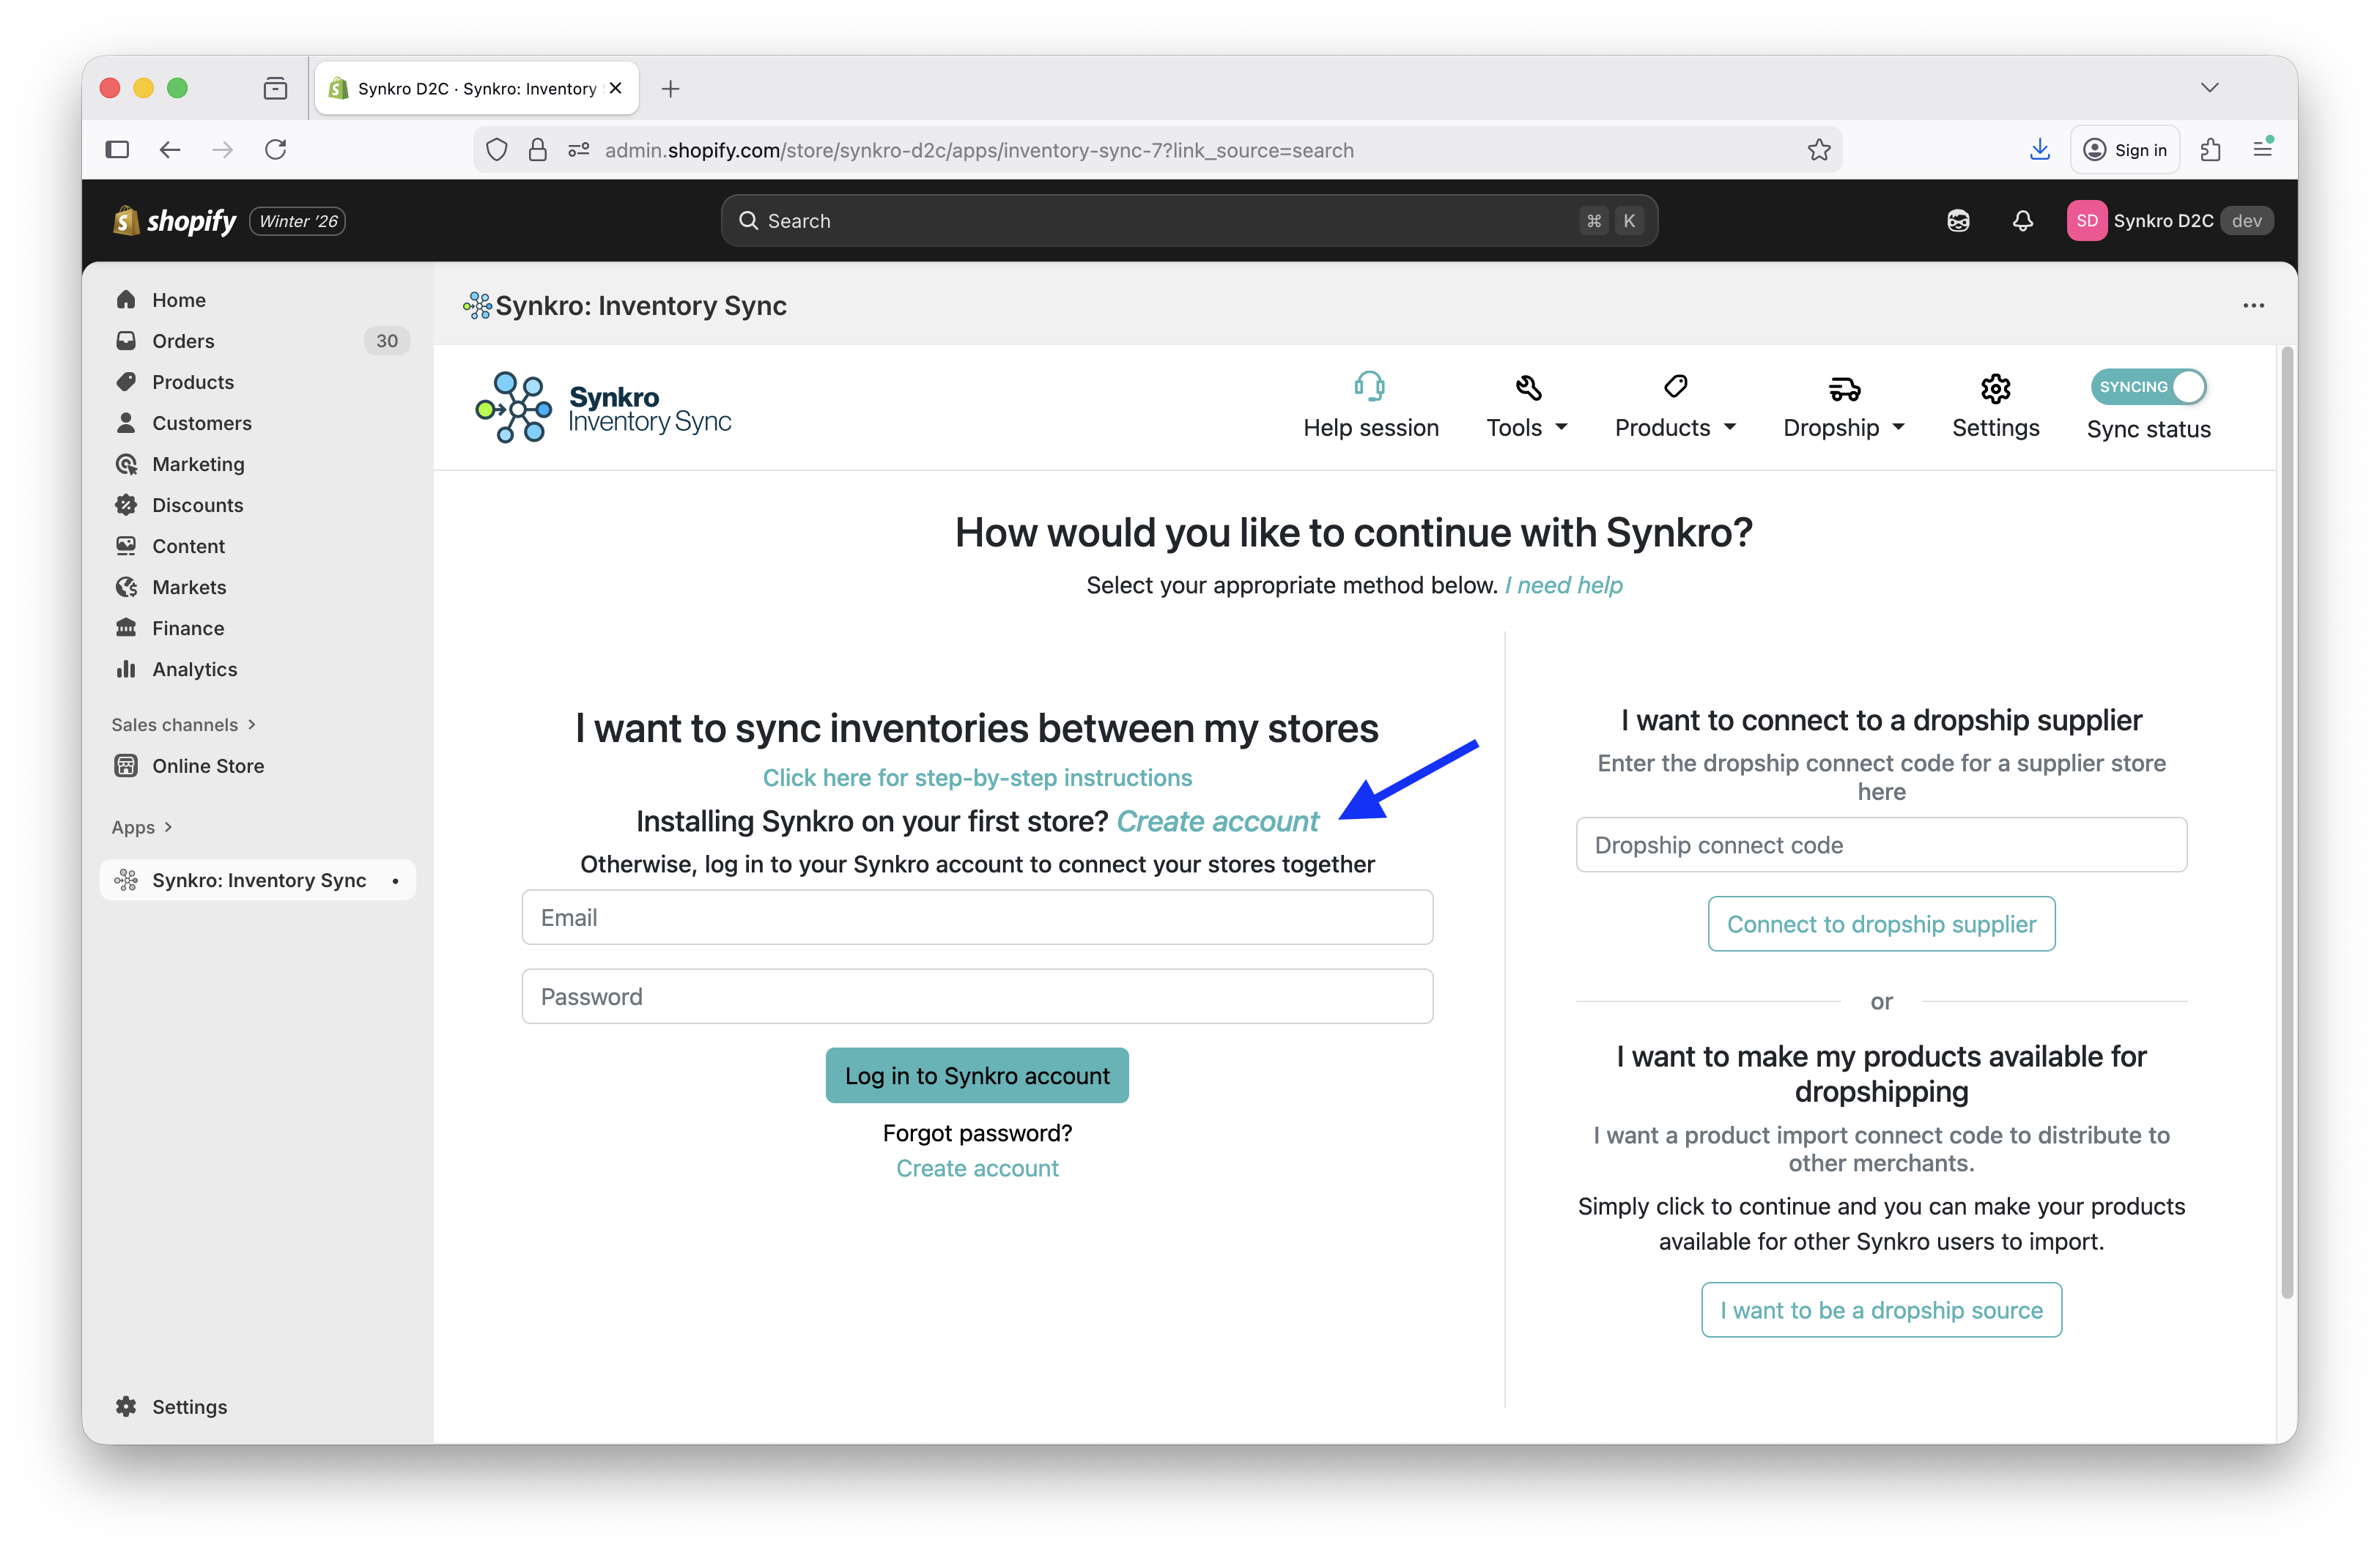
-
Provide a Name, Email, and Password for your new Synkro account and then click
Submit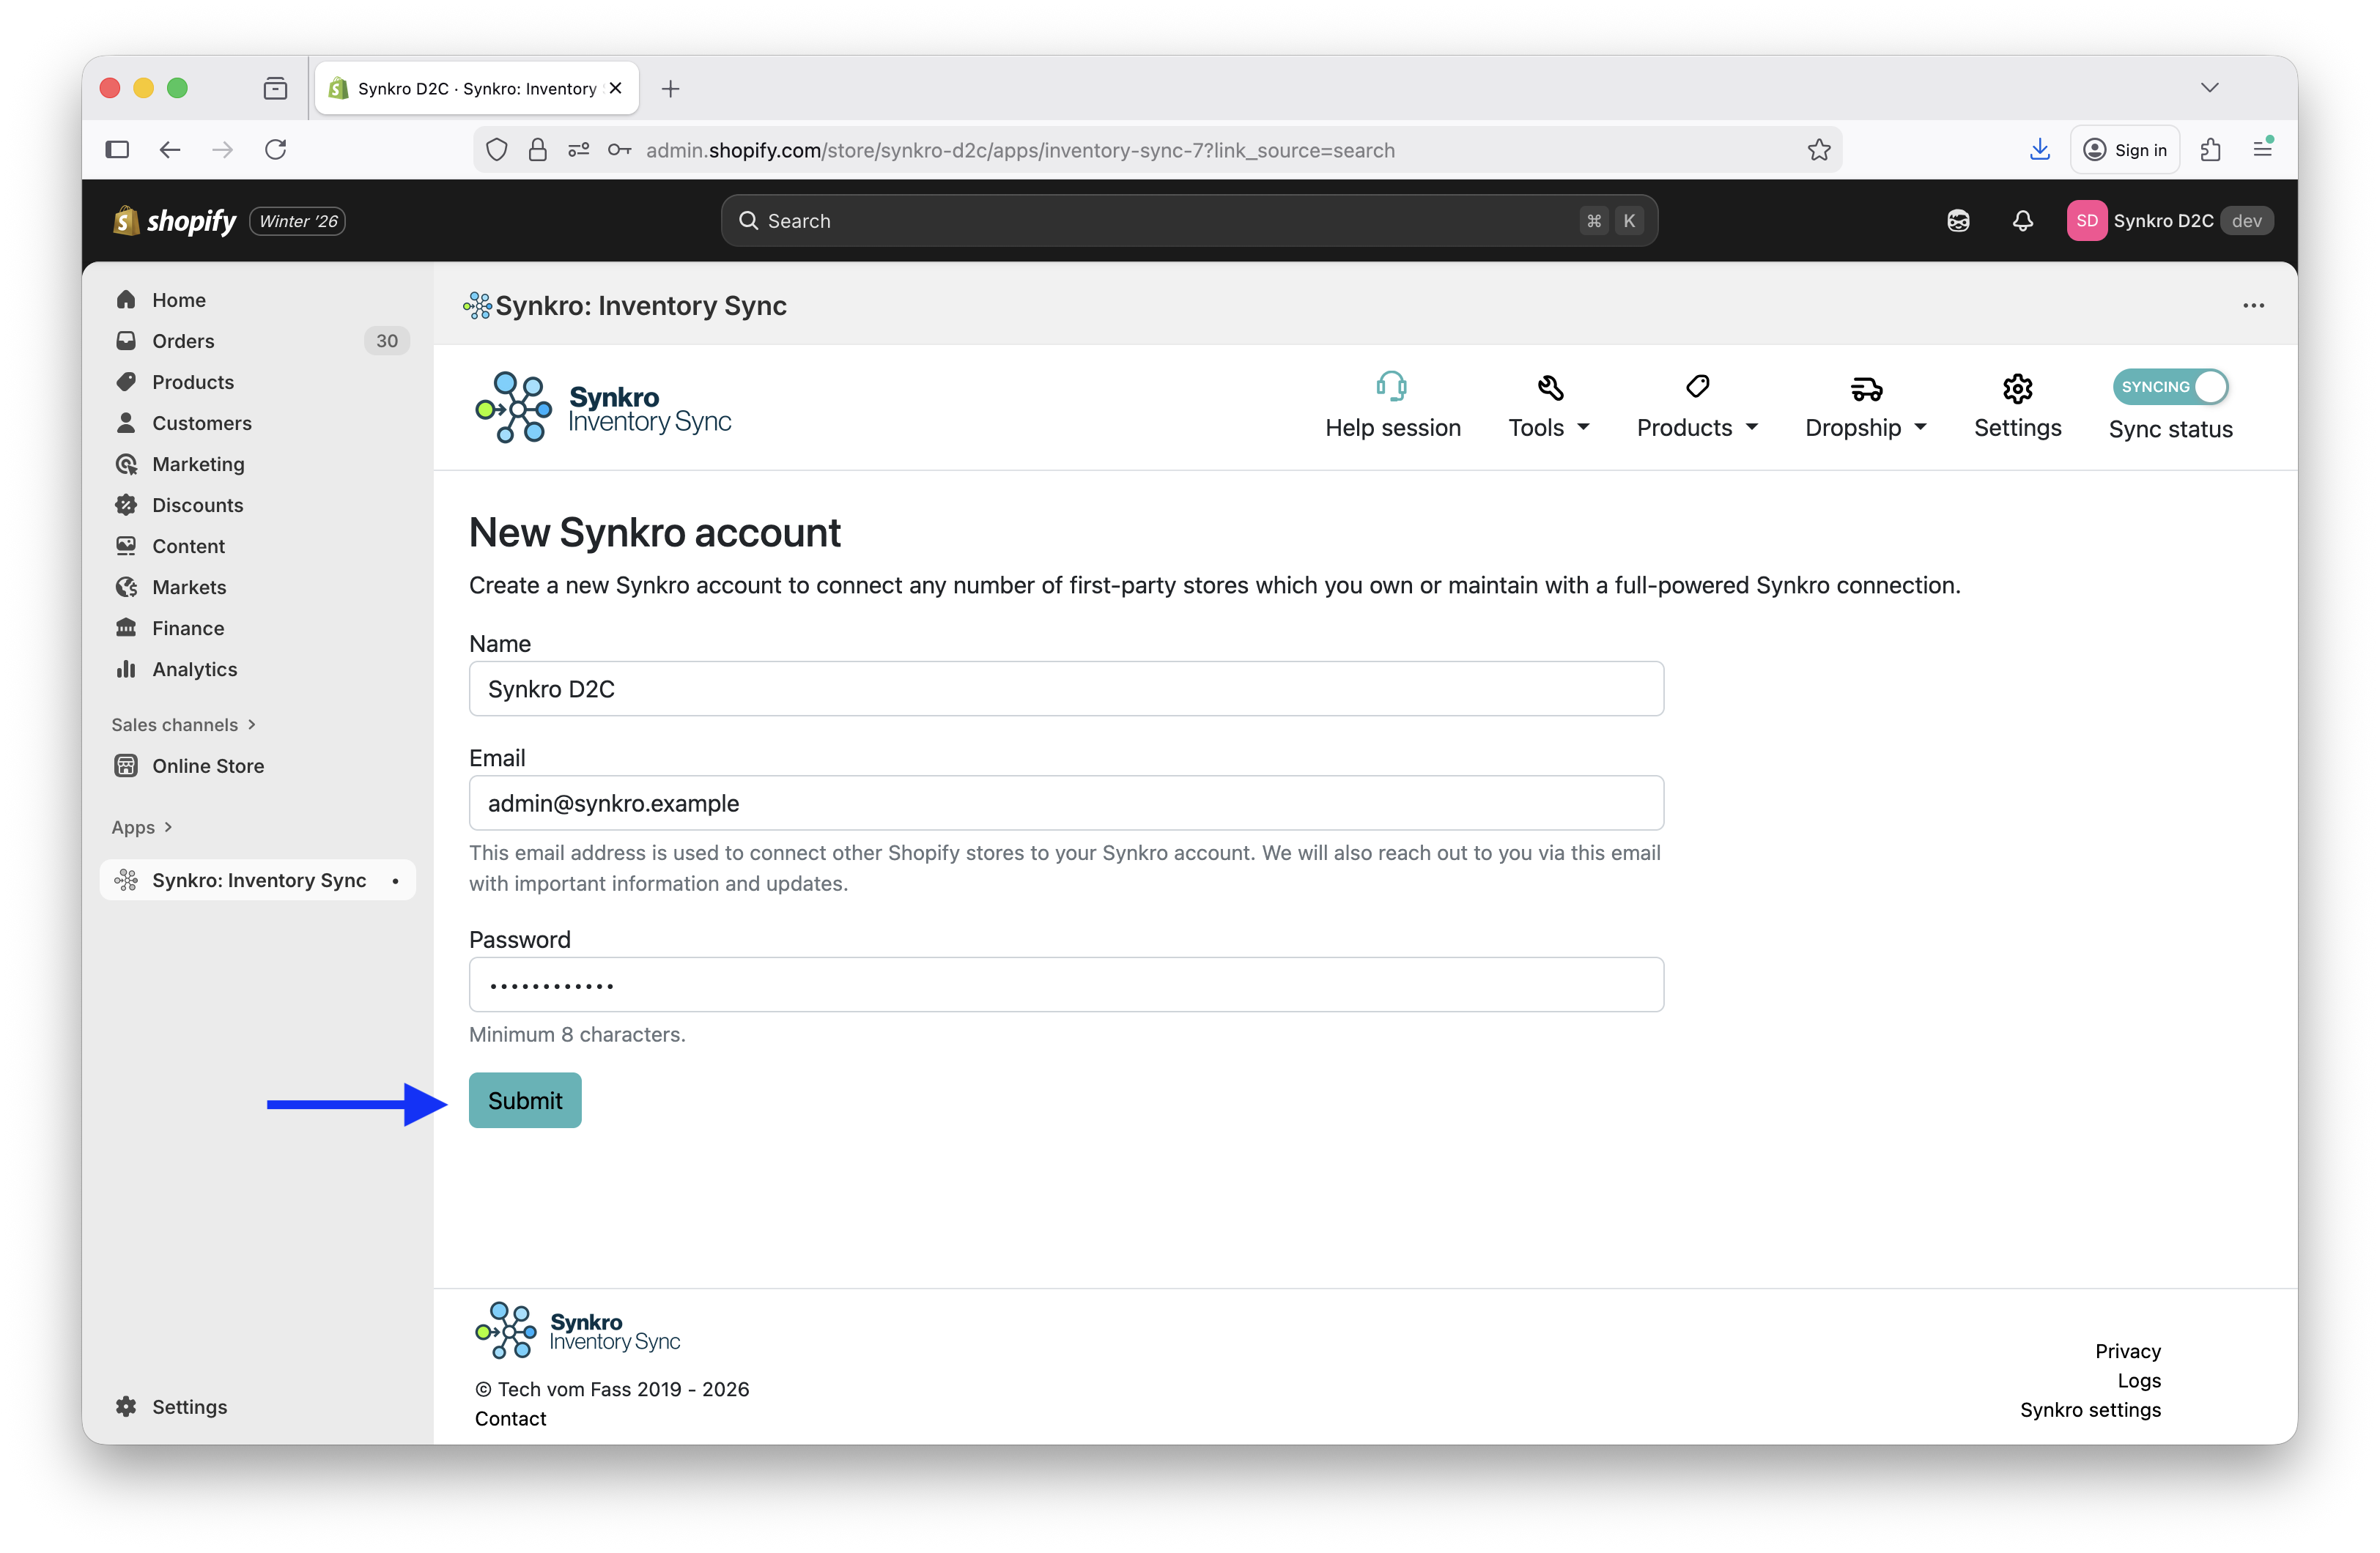
-
First store installation complete! 🎉
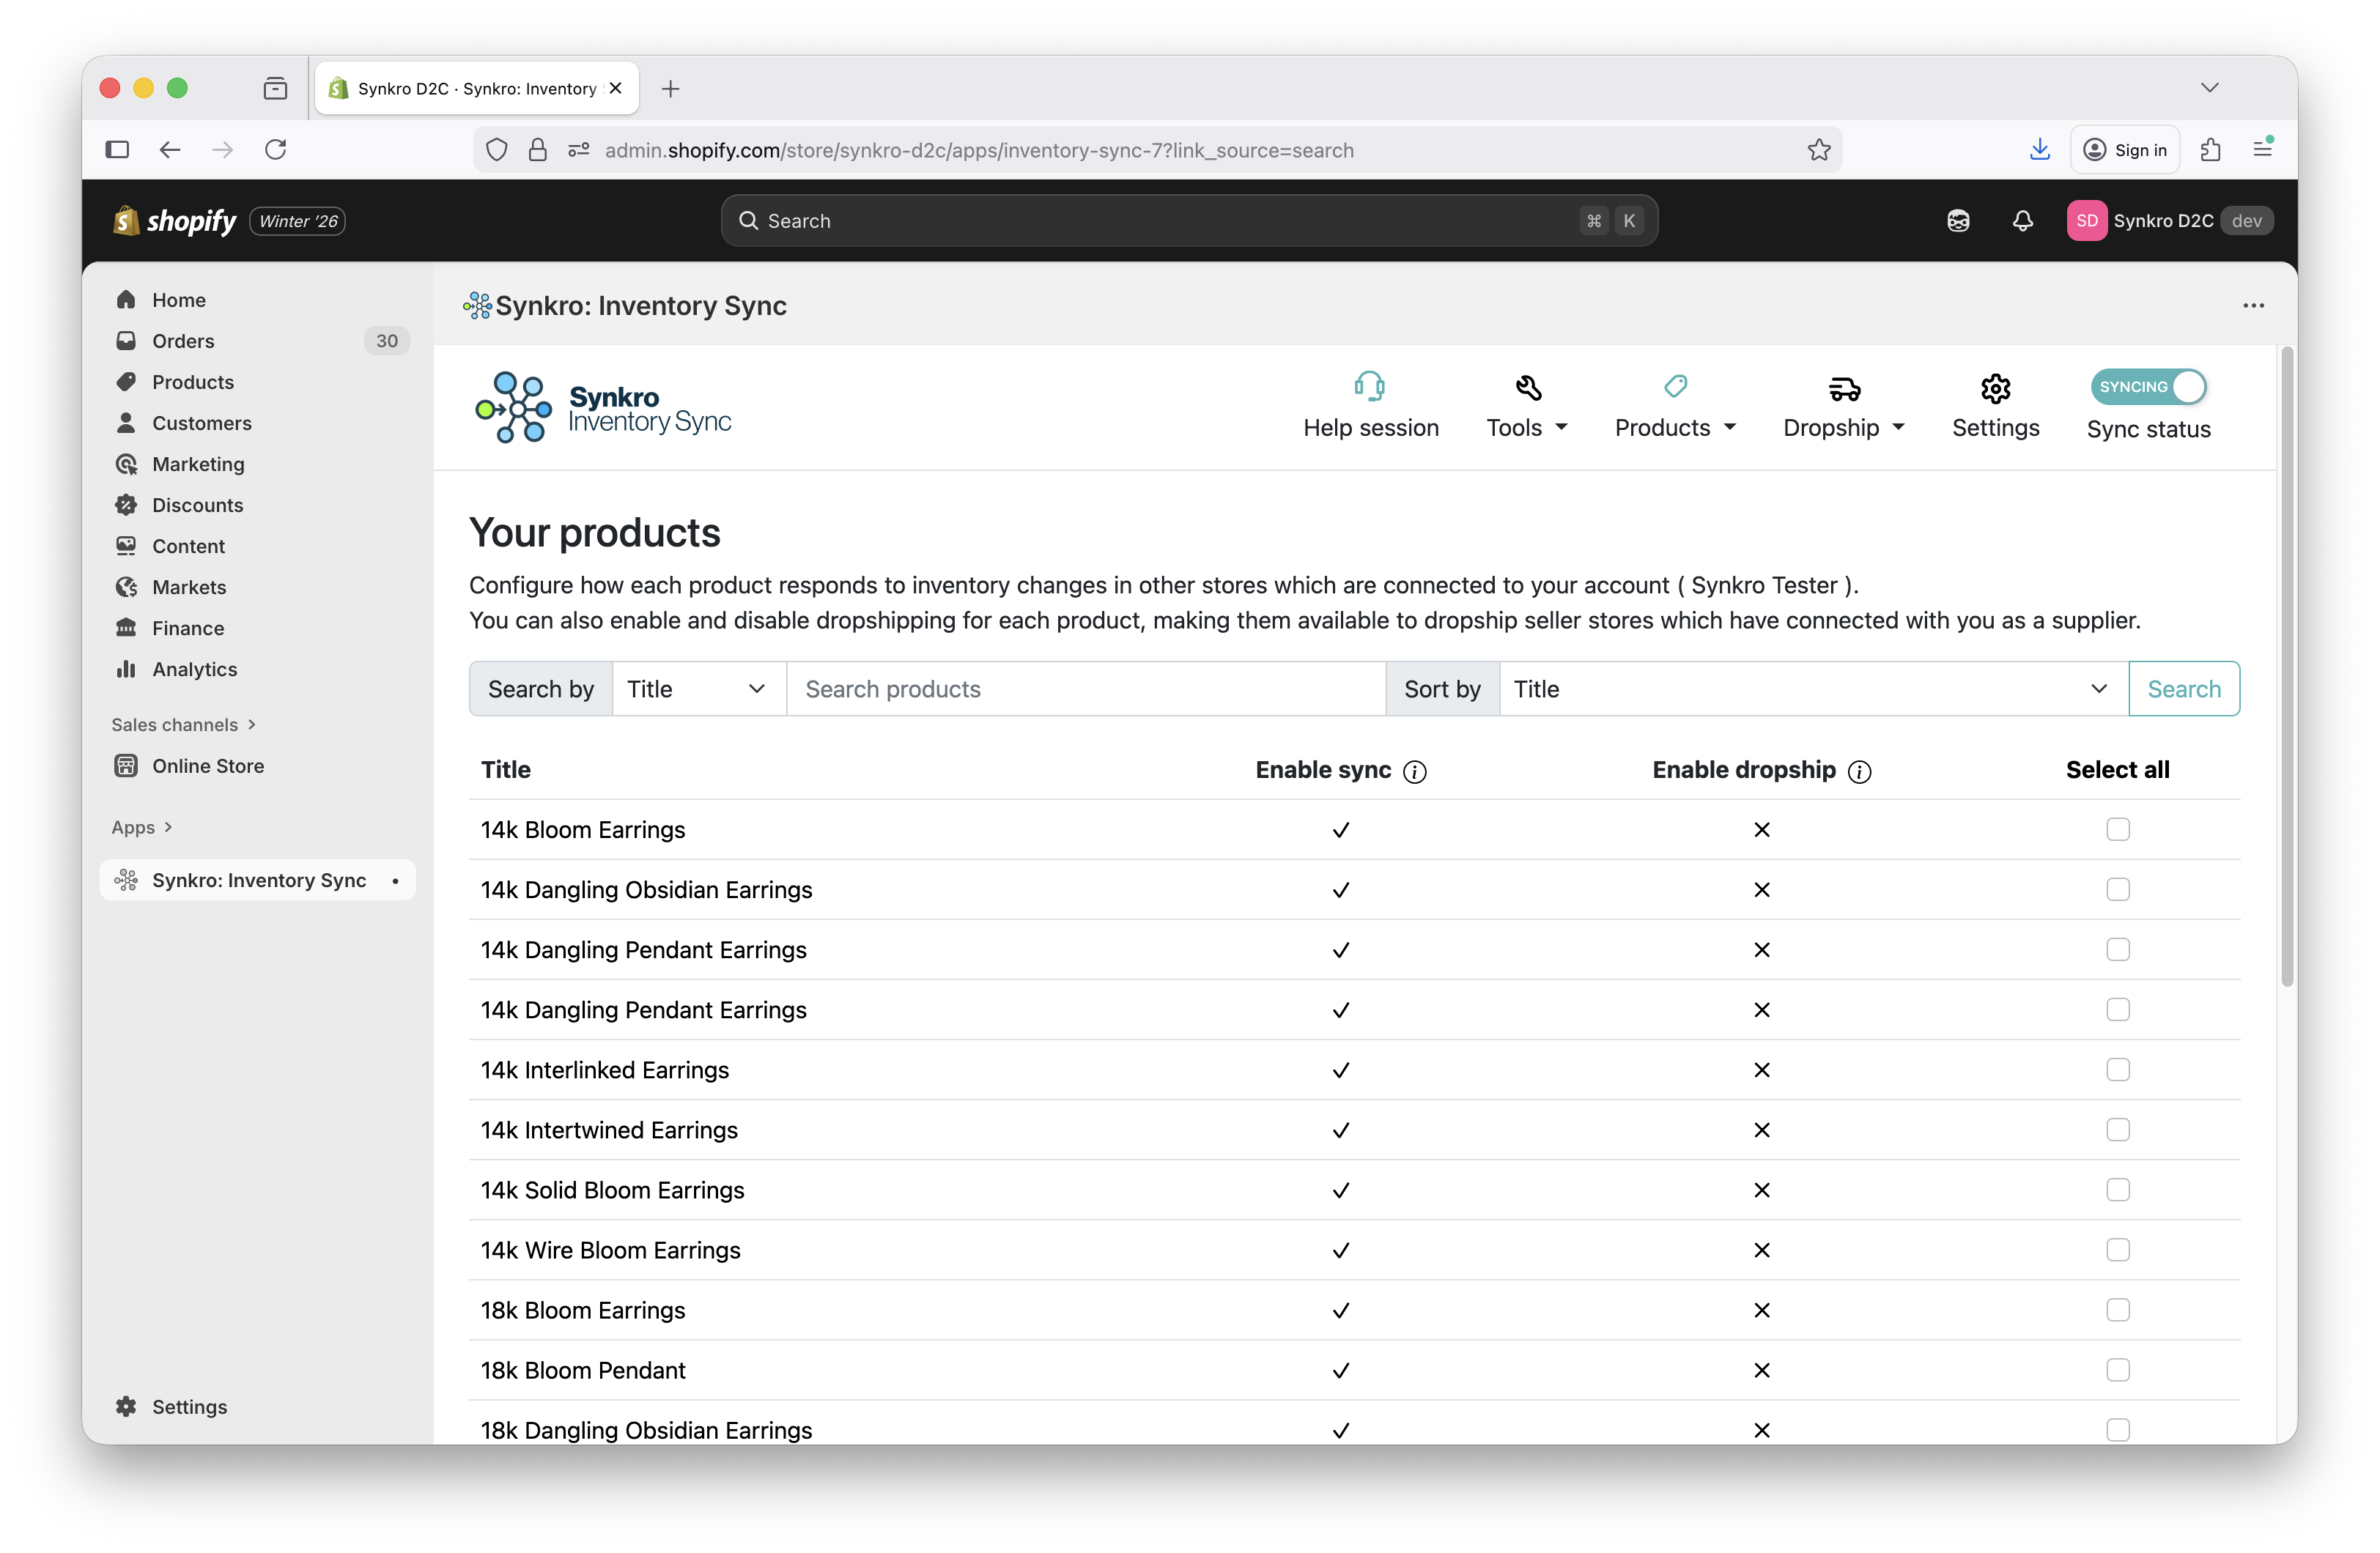
Multi-store installation continues
For merchants who wish to connect multiple stores together for inventory syncing, continue on with the next steps to connect your other stores together under the same Synkro account.
Step 3: Install Synkro on other stores
For the rest of your stores, the Synkro installation process will be the same as installing Synkro on your first store, except that when you are prompted to log in or create an account, you should sign in to the same Synkro account which you created in Step 1.
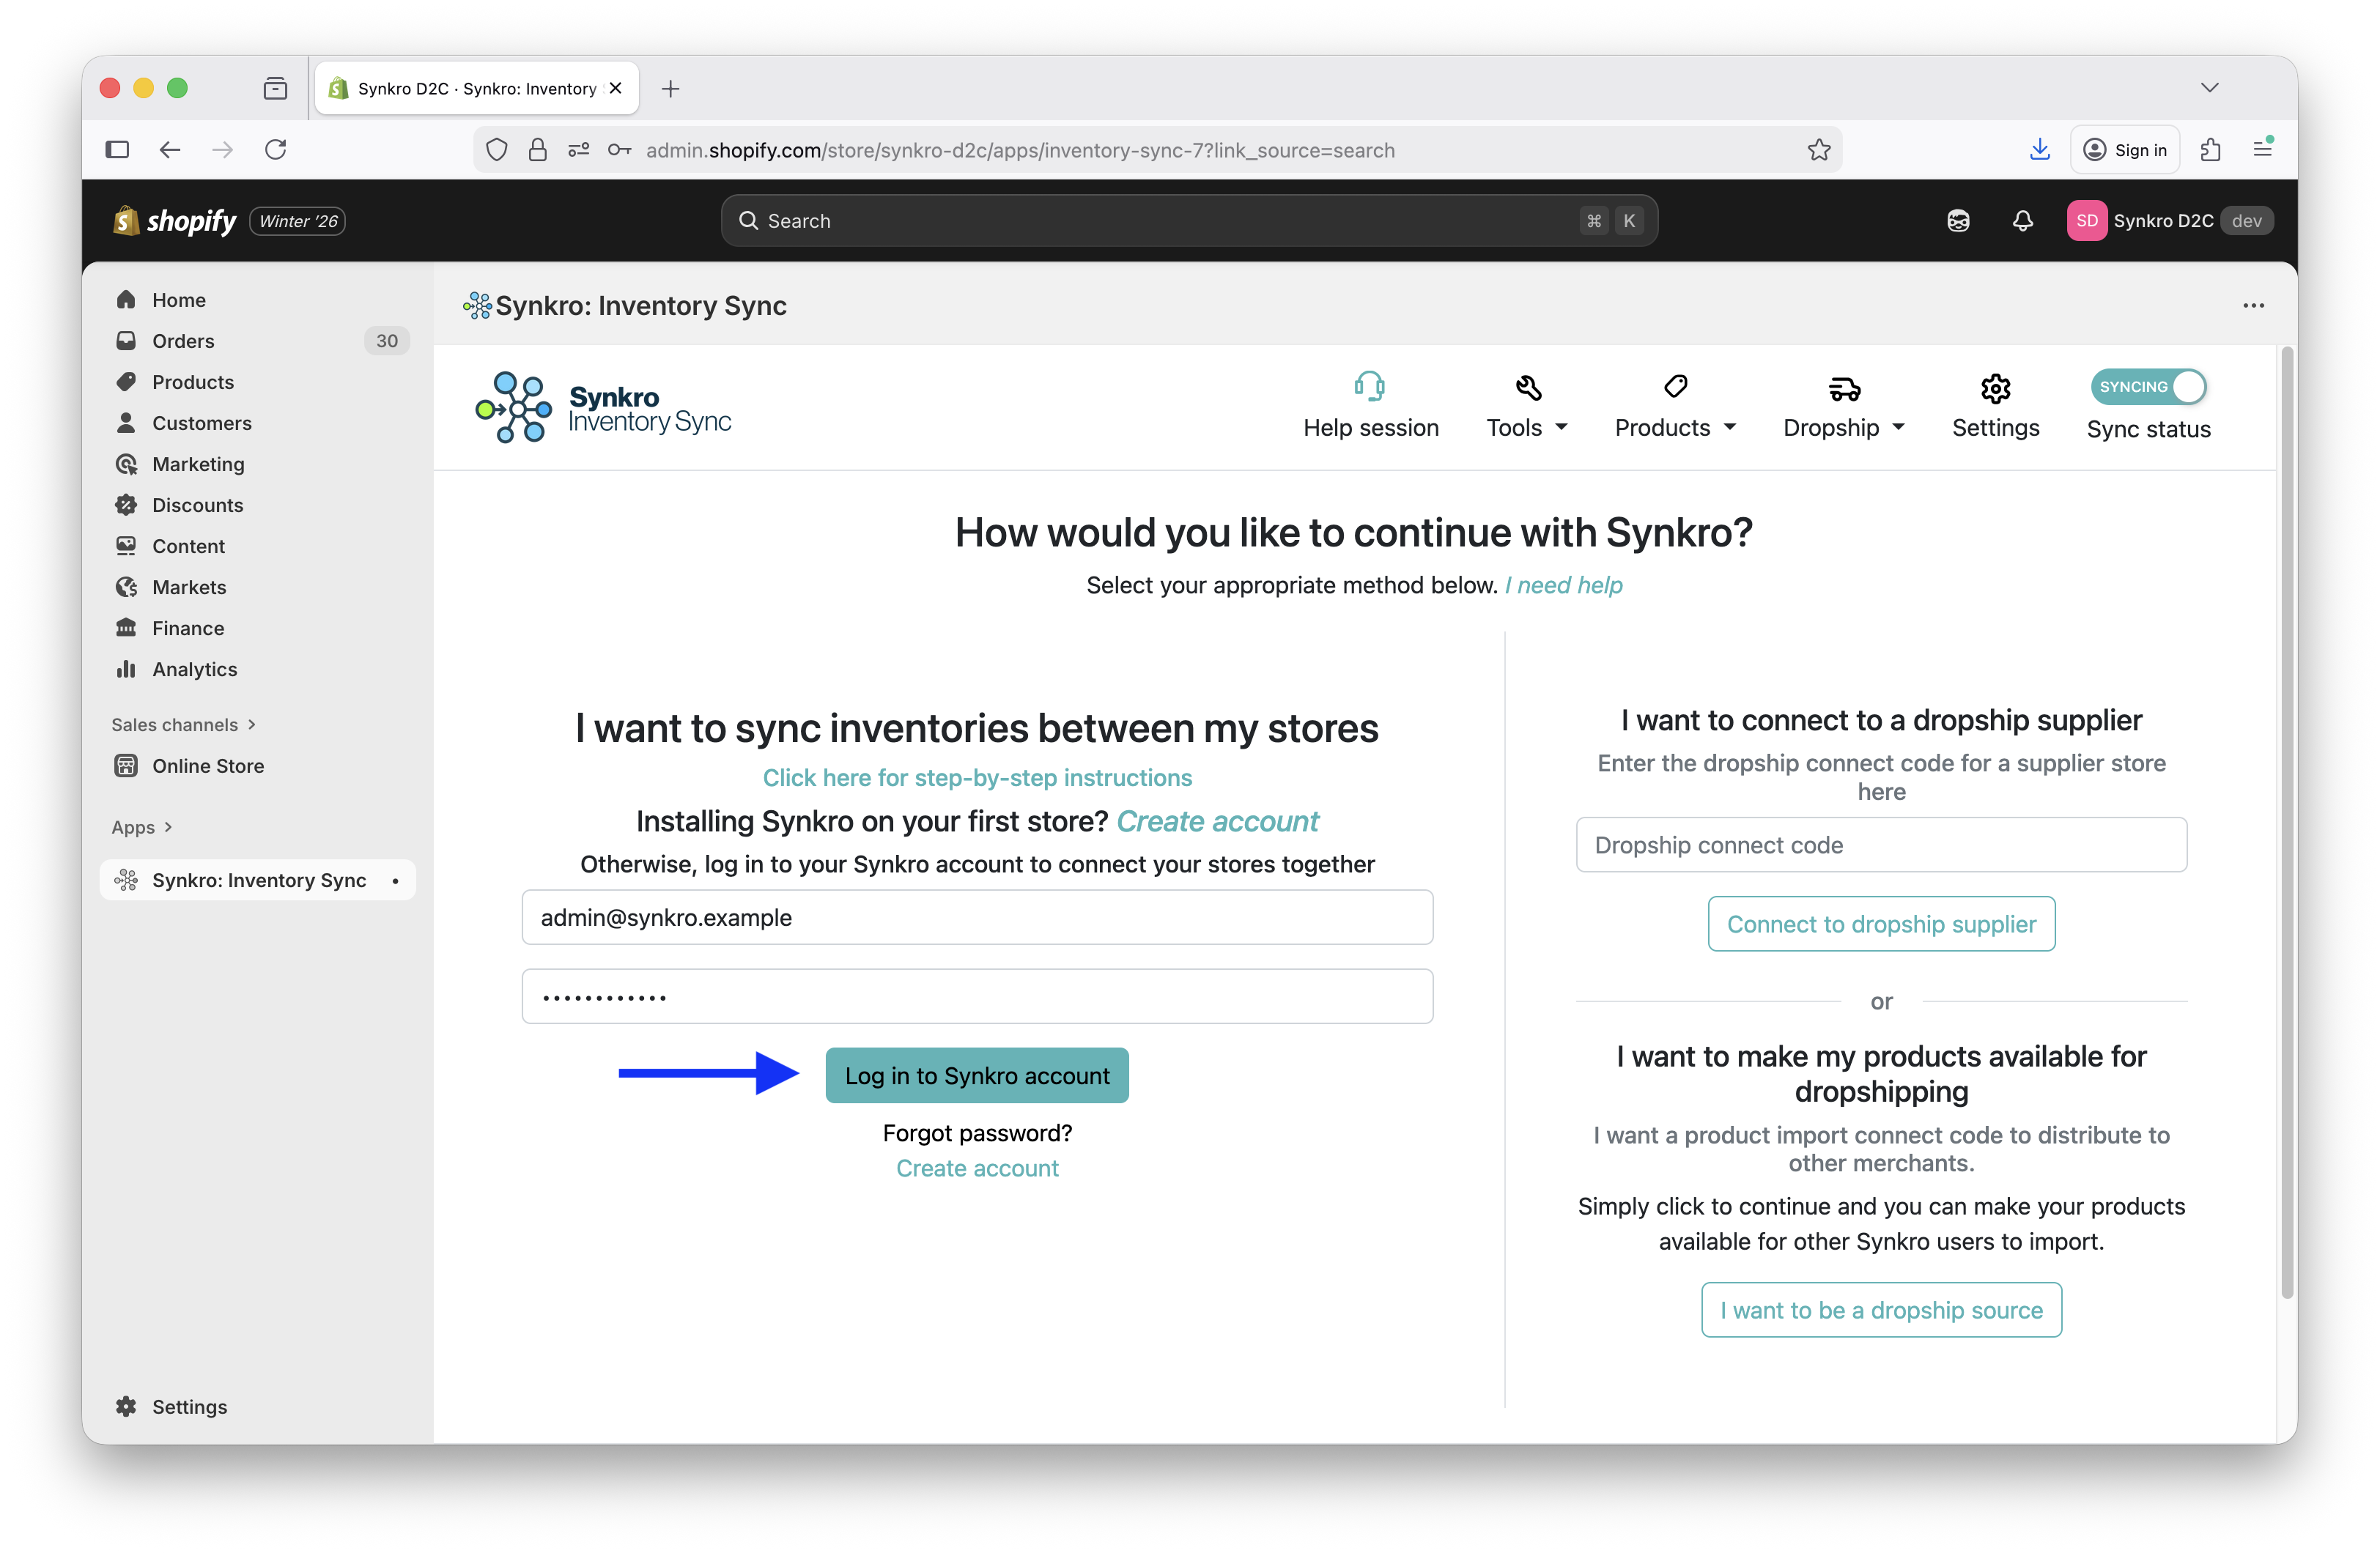 Connect Synkro to the Synkro Account which you created in Step 1
Step 4: Connect your inventory locations
Before Synkro can sync inventory between your stores, it needs to know how the inventory locations in each store relate to one another. Every store can have several locations — warehouses, retail stores, pickup points — so during onboarding you tell Synkro: when stock changes at a location in one store, which location should it update in each of the other stores? You configure this in the Multi-store location connections tool.
From your main store, open your Synkro settings by clicking Settings, then go to Location connections → Multi store connections.
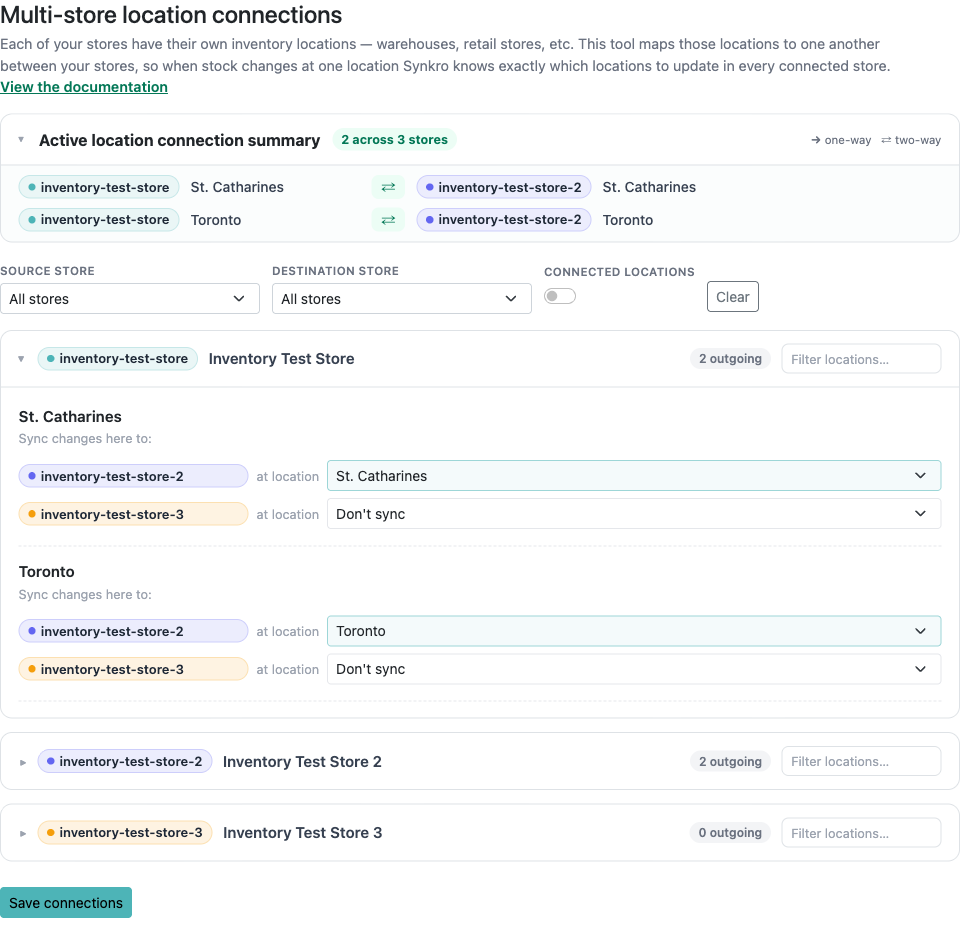 Each connected store appears as a card; expand a card to map its locations to locations in your other stores
When setting up your connections, keep these key points in mind:
- Each store is a card. Expand a store to see its inventory locations. Under each location, there’s a row for every other store where you pick the matching destination — “sync changes here to
synkro-b2b.myshopify.comat location Warehouse”. - Only what you connect will sync. Any pairing left on
Don't syncstays independent, so you only wire up the locations that should mirror each other. - Location names don’t need to match. You can connect a Warehouse in one store to a Shop location in another — Synkro follows the connection you choose, not the name.
- Connections are directional. Choosing a destination in one store’s card creates a one-way (
→) sync. To keep two locations fully in sync, also set the reverse connection from the other store’s card — that makes it two-way (⇄). - Review at a glance. The Active location connection summary at the top lists every connection you’ve configured, with an arrow showing whether each is one-way (
→) or two-way (⇄).
Once you’re satisfied with your setup, click Save connections at the bottom to apply your changes.
For a complete walkthrough of the tool — including filtering by store, searching within a store’s locations, and managing connections across many stores — see the dedicated Multi-store Location Connections guide.
Installation complete 🎉
Congratulations! You have finished connecting your stores together with Synkro 🚀
At this point, the next time an inventory change occurs in one of your connected stores, Synkro will sync the inventory level of the changed product/variant to other products/variants within your connected stores which share the same SKU. You can test this out by changing the inventory level of a product in one of your connected stores, then checking other variants in your connected stores which share the same SKU. After a few seconds, you will see their inventory levels set to match the new inventory level.
Next steps
Syncing all inventory from one store to another
For some merchants, inventory levels between their connected stores are not already in a synced state before installing Synkro. Synkro works “reactively”, so it only syncs inventory changes when they occur, and only for the products/variants which the inventory change occurred on. For this reason, it may be necessary to copy all inventory levels from one store to your other connected stores.
To request a full store inventory sync, please send us an email at support@synkro-app.com with the subject “Full store inventory sync request” and be sure to include which of your connected stores contains the correct inventory data so we can use it as the reference when syncing to your other connected stores.
Once this “Full store inventory sync” is complete, Synkro’s reactive syncing behaviour will keep your inventory levels in sync from this point forward.
Check for duplicate SKU values in your store
Synkro syncs inventory levels between products/variants which share the same SKU value. This includes products/variants within the same store which share the same SKU. Sometimes, merchants aren’t aware that they have multiple occurrences of the same SKU within the same store and are surprised to find that inventory is synced between these items.
To review the duplicate SKUs and Barcodes within your store, see our Detect duplicate SKUs & Barcodes tool.
Sync by Barcode instead of SKU
For some merchants, the SKU value of a product/variant is not suitable for inventory syncing purposes. In this case, you can easily switch to Barcode syncing mode by navigating to the Syncing identifier tab within your Synkro settings. Then, select Barcode and click Save underneath. This setting applies to all of your stores connected under your Synkro account.
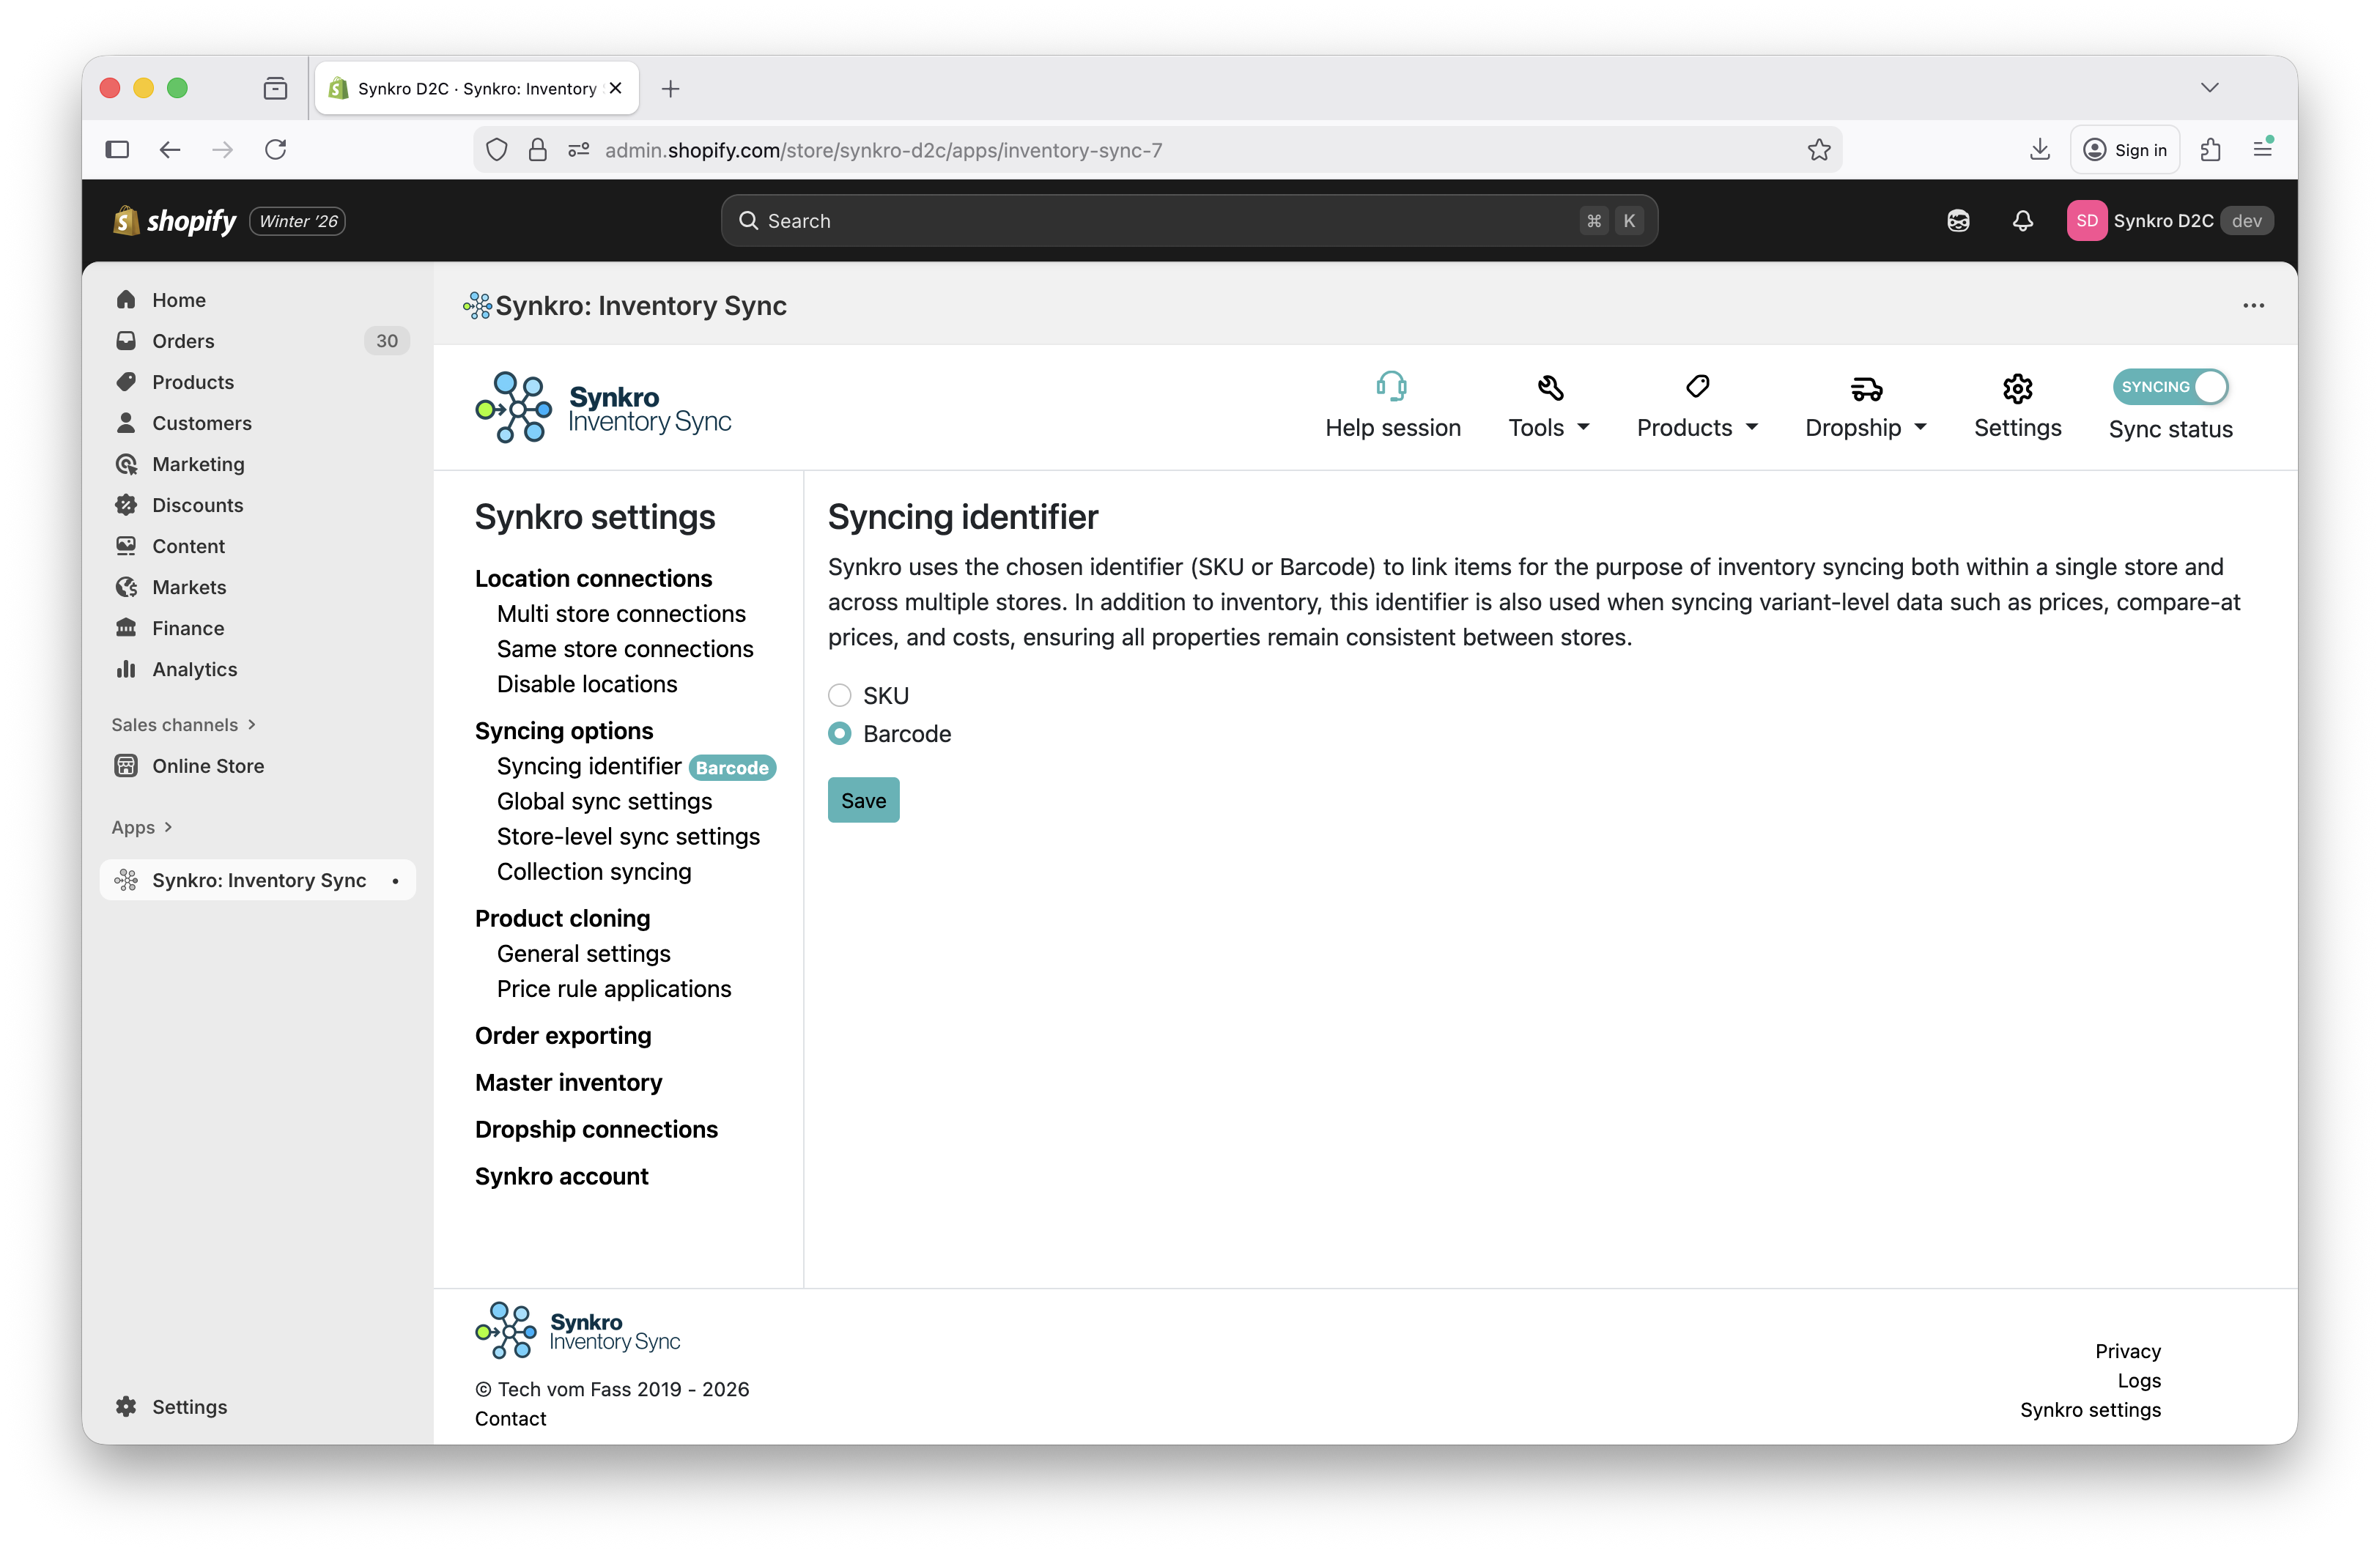 Switch to Barcode syncing mode